STEP 1
Make a directory inside your “tessel-code” folder called “rfid”, change directory into that folder, and initialize a tessel project:
mkdir rfid; cd rfid; t2 initSTEP 2
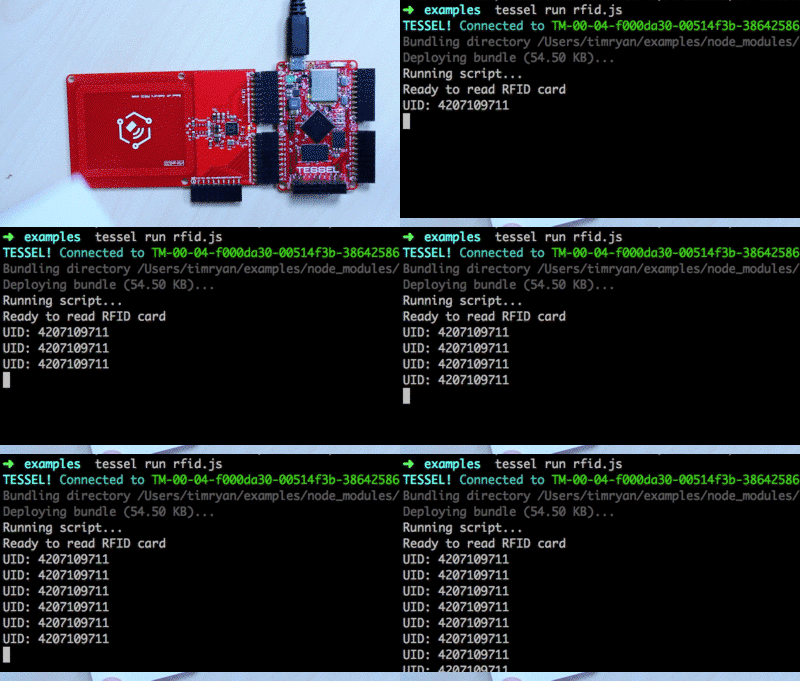
Plug the RFID module into Tessel port A with the hexagon/icon side down and the electrical components on the top, then plug Tessel into your computer via USB.
STEP 3
Install by typing npm install rfid-pn532 into the command line.
STEP 4
Rename “index.js” to “rfid.js” and replace the file’s contents with the following:
// Any copyright is dedicated to the Public Domain.
// http://creativecommons.org/publicdomain/zero/1.0/

/*********************************************
This basic RFID example listens for an RFID
device to come within range of the module,
then logs its UID to the console.
*********************************************/

var tessel = require('tessel');
var rfidlib = require('rfid-pn532');

var rfid = rfidlib.use(tessel.port['A']);

rfid.on('ready', function (version) {
  console.log('Ready to read RFID card');

  rfid.on('data', function(card) {
    console.log('UID:', card.uid.toString('hex'));
  });
});

rfid.on('error', function (err) {
  console.error(err);
});
Save the file.
STEP 5

In your command line, t2 run rfid.js Tap the included RFID card on the reader to get its UID!
Bonus: Change the polling rate of the RFID module so that it only checks for a card once every three seconds. (Hint: you may need to check the docs.)
STEP 6
What else can you do with a RFID module? Try a community-created project.

