STEP 1
Make a directory inside your “tessel-code” folder called “camera”, change directory into that folder, and initialize a tessel project:
mkdir camera; cd camera; t2 initSTEP 2
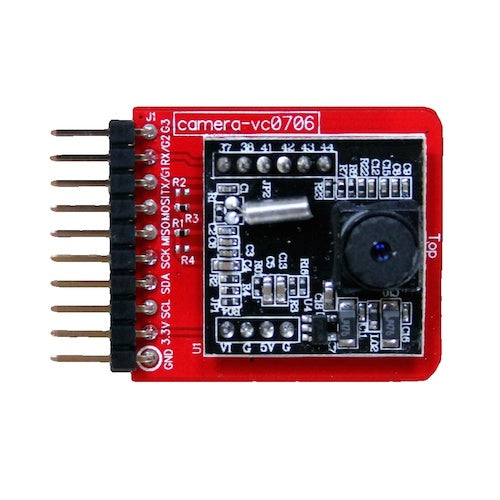
Plug Tessel into your computer via USB, then plug the camera module into either of Tessel’s USB ports. You will also need a UVC compatible USB camera.
STEP 3
Install by typing npm install tessel-av into the command line.
STEP 4
Rename “index.js” to “camera.js” and replace the file’s contents with the following:
// Any copyright is dedicated to the Public Domain.
// http://creativecommons.org/publicdomain/zero/1.0/

/*********************************************
Create a server that responds to every request by taking a picture and piping it directly to the browser.
*********************************************/

var av = require('tessel-av');
var os = require('os');
var http = require('http');
var port = 8000;
var camera = new av.Camera();

http.createServer((request, response) => {
  response.writeHead(200, { 'Content-Type': 'image/jpg' });

  camera.capture().pipe(response);

}).listen(port, () => console.log(`http://${os.hostname()}.local:${port}`));
Save the file.
STEP 5
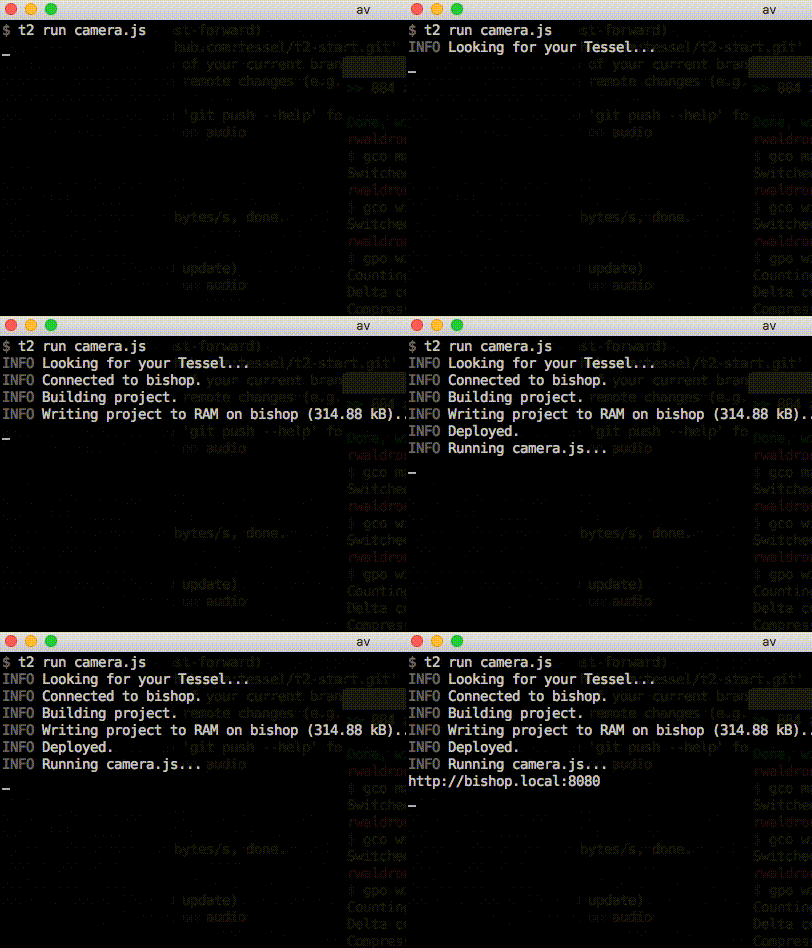
Make sure your Tessel and computer are connected to the same Wifi network. Then, in your command line, t2 run camera.js
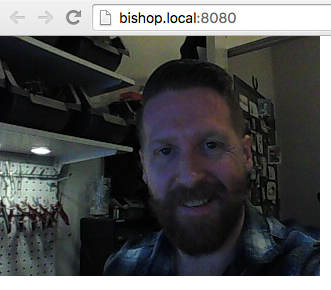
Hooray! You should see the following:


Note: bishop is just the name of my Tessel 2 board, your Tessel’s URL will include whatever you’ve named your board!
Bonus: Try connecting a button to your Tessel 2 and use it as a shutter. Hint: it may help to look for the NPM module tessel-gpio-button.
Extra bonus: Use an USB storage drive to store many photos. Hint: check out the “storage” module tutorial.
To see what else you can do with the USB camera module, read the tessel-av documentation.
STEP 6
What else can you do with a camera module? Get inspired by a community-created project.

