STEP 1
Make a directory inside your “tessel-code” folder called “ble”, change directory into that folder, and initialize a tessel project:
mkdir ble; cd ble; t2 initSTEP 2
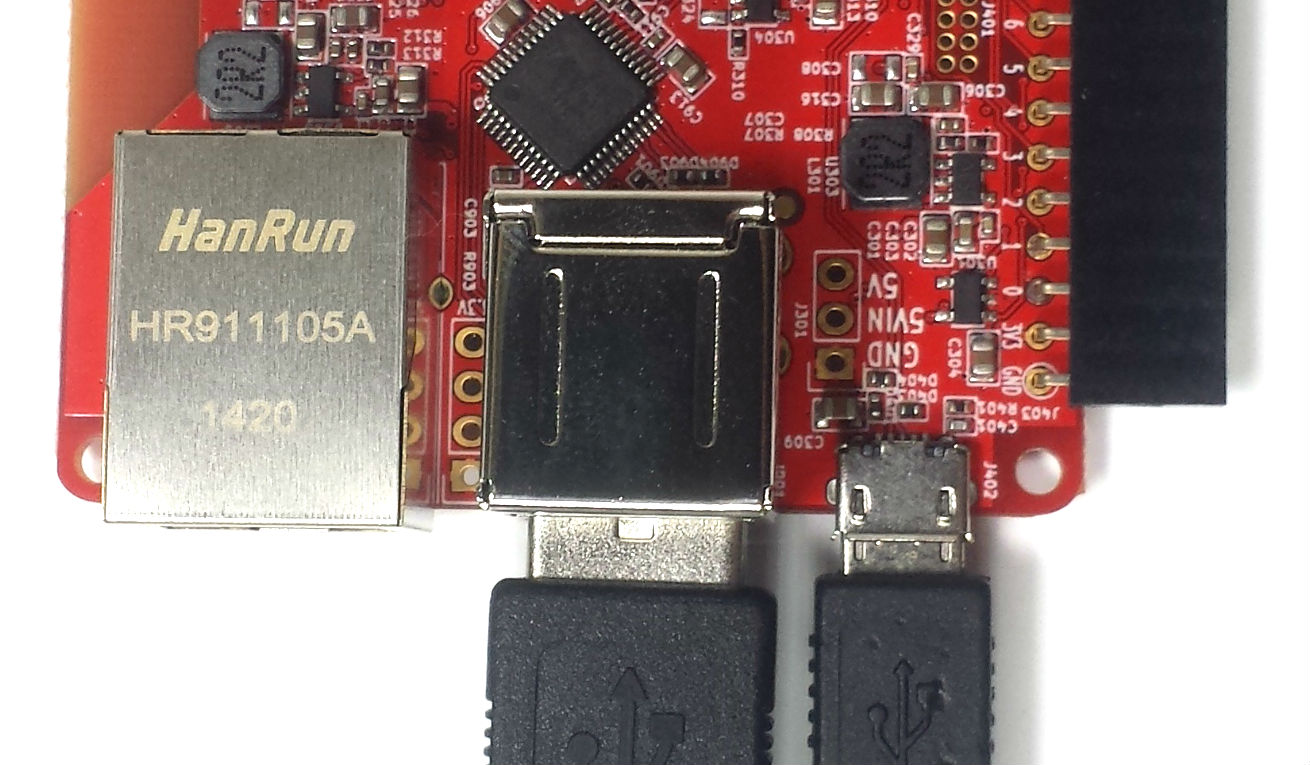
Plug Tessel into your computer via USB, then plug the BLE module into either of Tessel’s USB ports.
STEP 3
Install noble by typing npm install noble --force into the command line (the --force flag is in case you are on OSX. The library is compatible with Linux (which Tessel uses) but not OSX, so npm blocks downloads to incompatible systems).
STEP 4
Rename “index.js” to “ble.js” and replace the file’s contents with the following:
// Any copyright is dedicated to the Public Domain.
// http://creativecommons.org/publicdomain/zero/1.0/

/*********************************************
This basic example scans for BLE peripherals and
prints out details when found
*********************************************/
// Import the BLE library
var noble = require('noble');
// USB modules don't have to be explicitly connected

// Wait for the module to report that it is powered up first
noble.on('stateChange', function(state) {
    if (state === 'poweredOn') {
        console.log('beginning to scan...');
        // Begin scanning for BLE peripherals
        noble.startScanning();
    }
});

// When a peripheral is discovered
noble.on('discover', function(peripheral) {
    // Print out the address
    console.log('peripheral found at:', peripheral.address);
});

console.log('waiting for power up...');
Save the file.
STEP 5

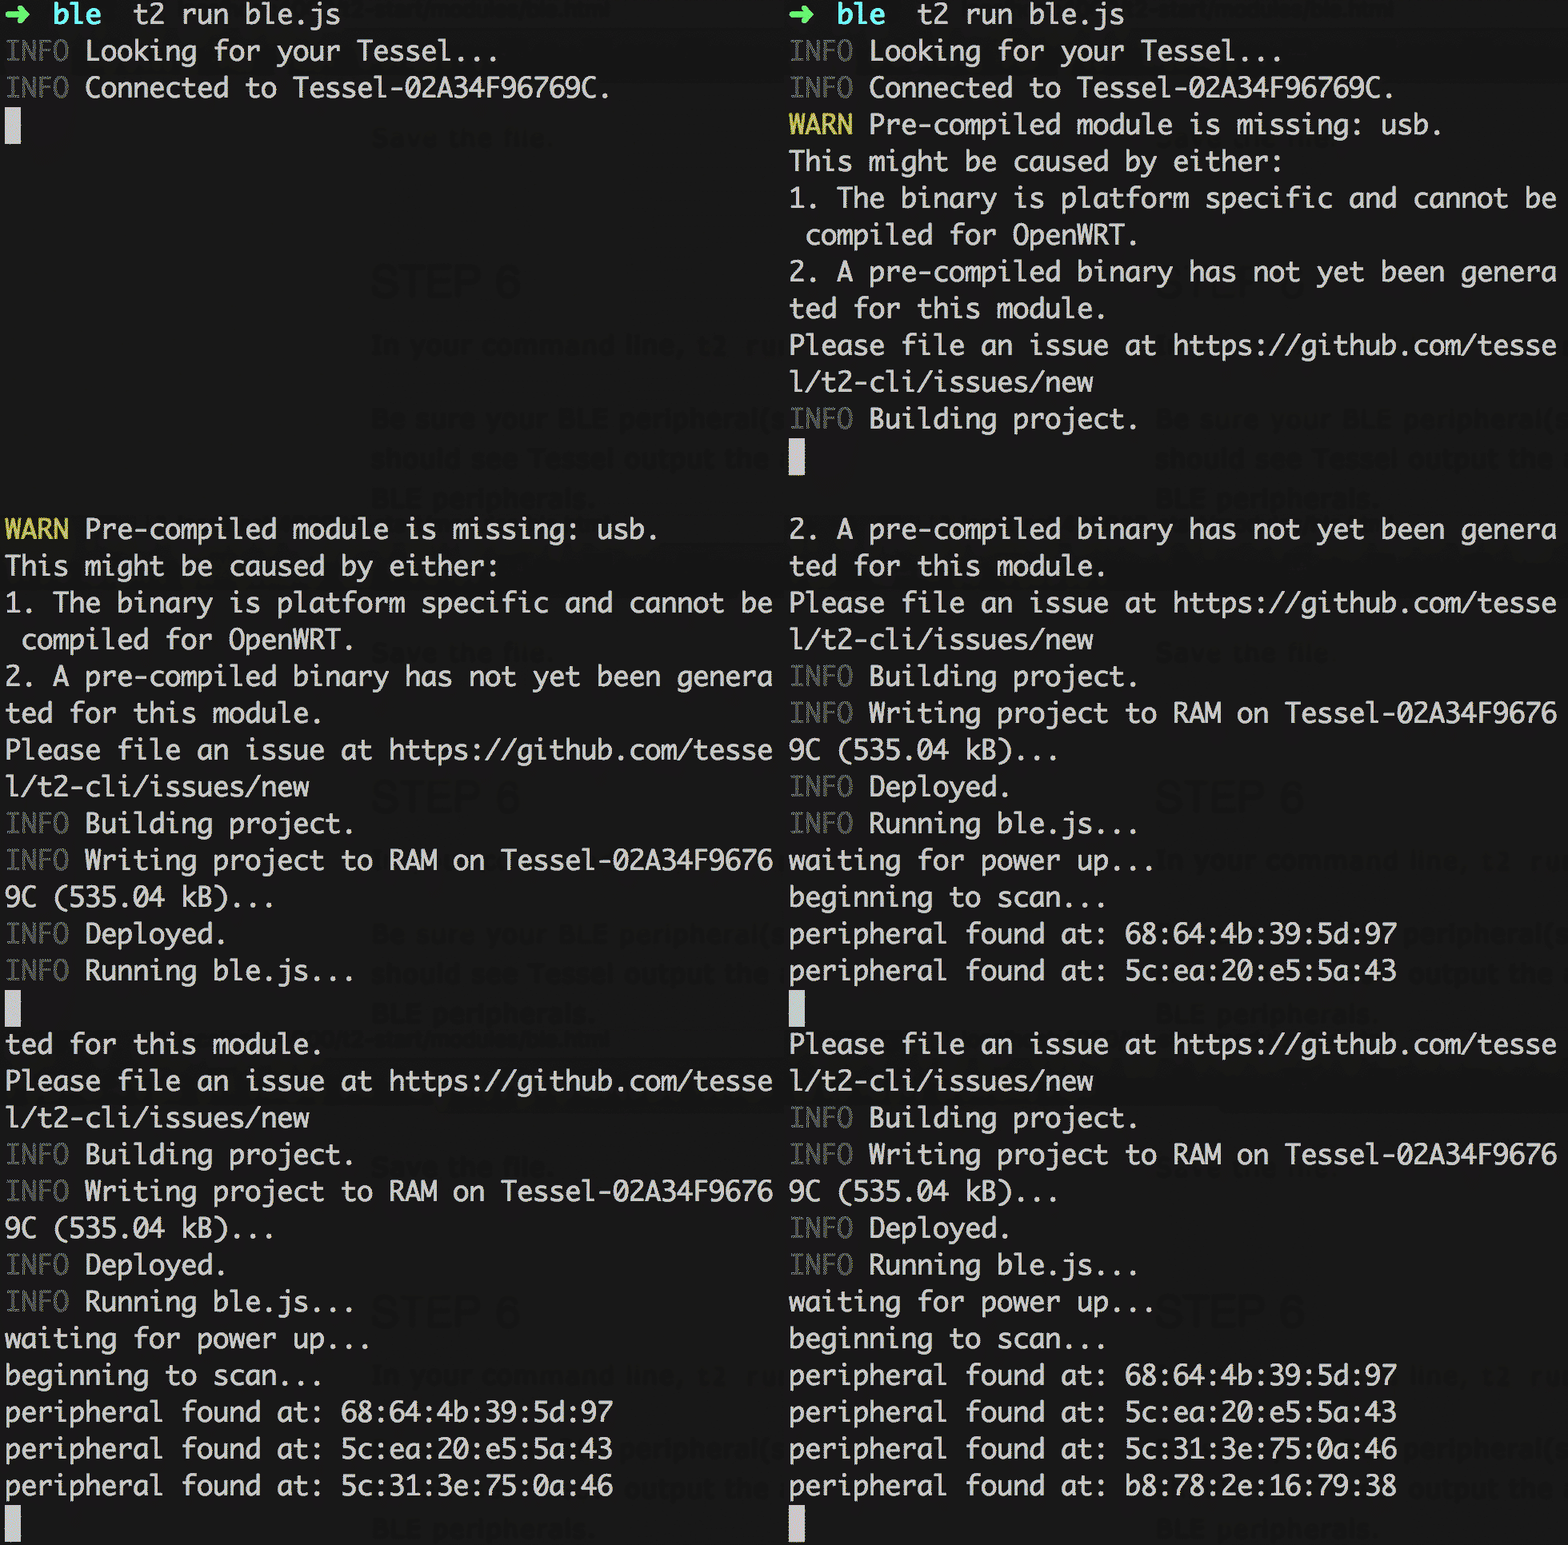
In your command line, t2 run ble.js
Be sure your BLE peripheral(s) are enabled! You should see Tessel output the address of any nearby BLE peripherals.
Bonus: Make your BLE dongle advertise as a peripheral. Hint: you will need the bleno library instead of noble.
To see what else you can do with the BLE dongle, read the noble and bleno documentation.
STEP 6
What else can you do with a BLE module? Get inspired by a community-created project.

