
STEP 1 Make a directory inside your “tessel-code” folder called “storage”, change directory into that folder, and initialize a tessel project: mkdir storage; cd storage; t2 init STEP 2 Plug Tessel into your computer via USB, then plug a USB…

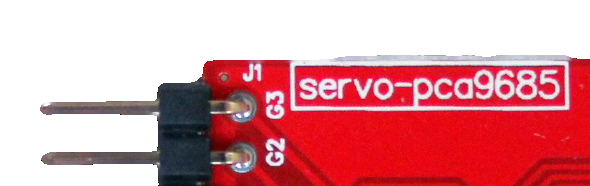
STEP 1 Make a directory inside your “tessel-code” folder called “servo”, change directory into that folder, and initialize a tessel project: mkdir servo; cd servo; t2 init STEP 2 Plug servo into port “1” on the module as shown. the…
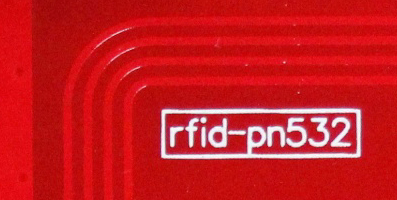
STEP 1 Make a directory inside your “tessel-code” folder called “rfid”, change directory into that folder, and initialize a tessel project: mkdir rfid; cd rfid; t2 init STEP 2 Plug the RFID module into Tessel port A with the hexagon/icon side down…
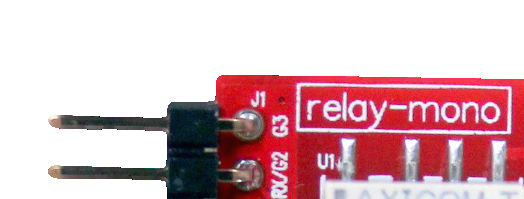
STEP 1 Make a directory inside your “tessel-code” folder called “relay”, change directory into that folder, and initialize a tessel project: mkdir relay; cd relay; t2 init STEP 2 If you have something to turn on and off with the…

STEP 1 Make a directory inside your “tessel-code” folder called “ir”, change directory into that folder, and initialize a tessel project: mkdir ir; cd ir; t2 init STEP 2 Plug the IR module into Tessel port A with the hexagon/icon side down…
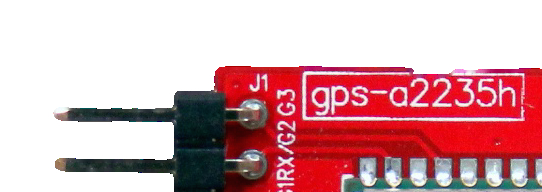
STEP 1 Note: The time between seeing satellites and actually getting a lock is dependent on the satellite. Be in view of the open sky for best results (and even then it may take a while to get a lock). Once…
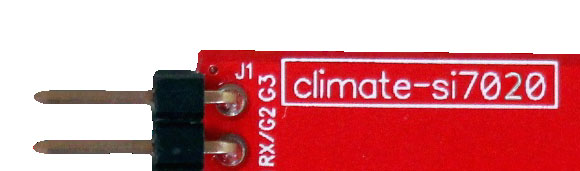
STEP 1 Note: Temperature and humidity readings can be skewed by the operating temperature of the Tessel. Distancing the the climate module from the Tessel via wires is recommended for accurate readings. Make a directory inside your “tessel-code” folder called “climate”, change…
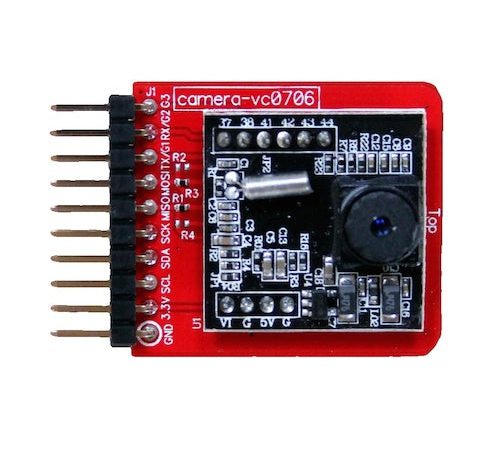
STEP 1 Make a directory inside your “tessel-code” folder called “camera”, change directory into that folder, and initialize a tessel project: mkdir camera; cd camera; t2 init STEP 2 Plug Tessel into your computer via USB, then plug the camera…
STEP 1 Make a directory inside your “tessel-code” folder called “ble”, change directory into that folder, and initialize a tessel project: mkdir ble; cd ble; t2 init STEP 2 Plug Tessel into your computer via USB, then plug the BLE…
STEP 1 Make a directory inside your “tessel-code” folder called “audio”, change directory into that folder, and initialize a tessel project: mkdir audio; cd audio; t2 init Download this mp3 into the “audio” directory, this will be the audio file we manipulate.…
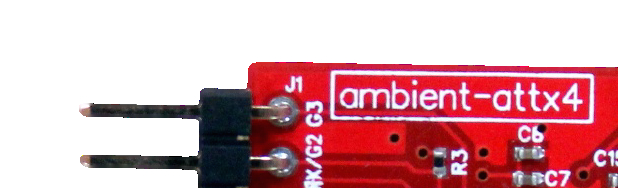
STEP 1 Make a directory inside your “tessel-code” folder called “ambient”, change directory into that folder, and initialize a tessel project: mkdir ambient; cd ambient; t2 init STEP 2 Plug the ambient module into Tessel port A with the hexagon/icon side down…
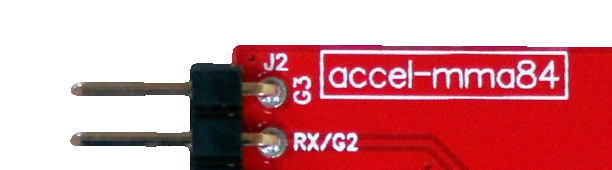
STEP 1 Make a directory inside your “tessel-code” folder called “accelerometer”, change directory into that folder, and initialize a tessel project: mkdir accelerometer; cd accelerometer; t2 init STEP 2 Plug the accelerometer module into Tessel port A with the hexagon/icon side down…